
Canada Post
Adding your Canada Post Account
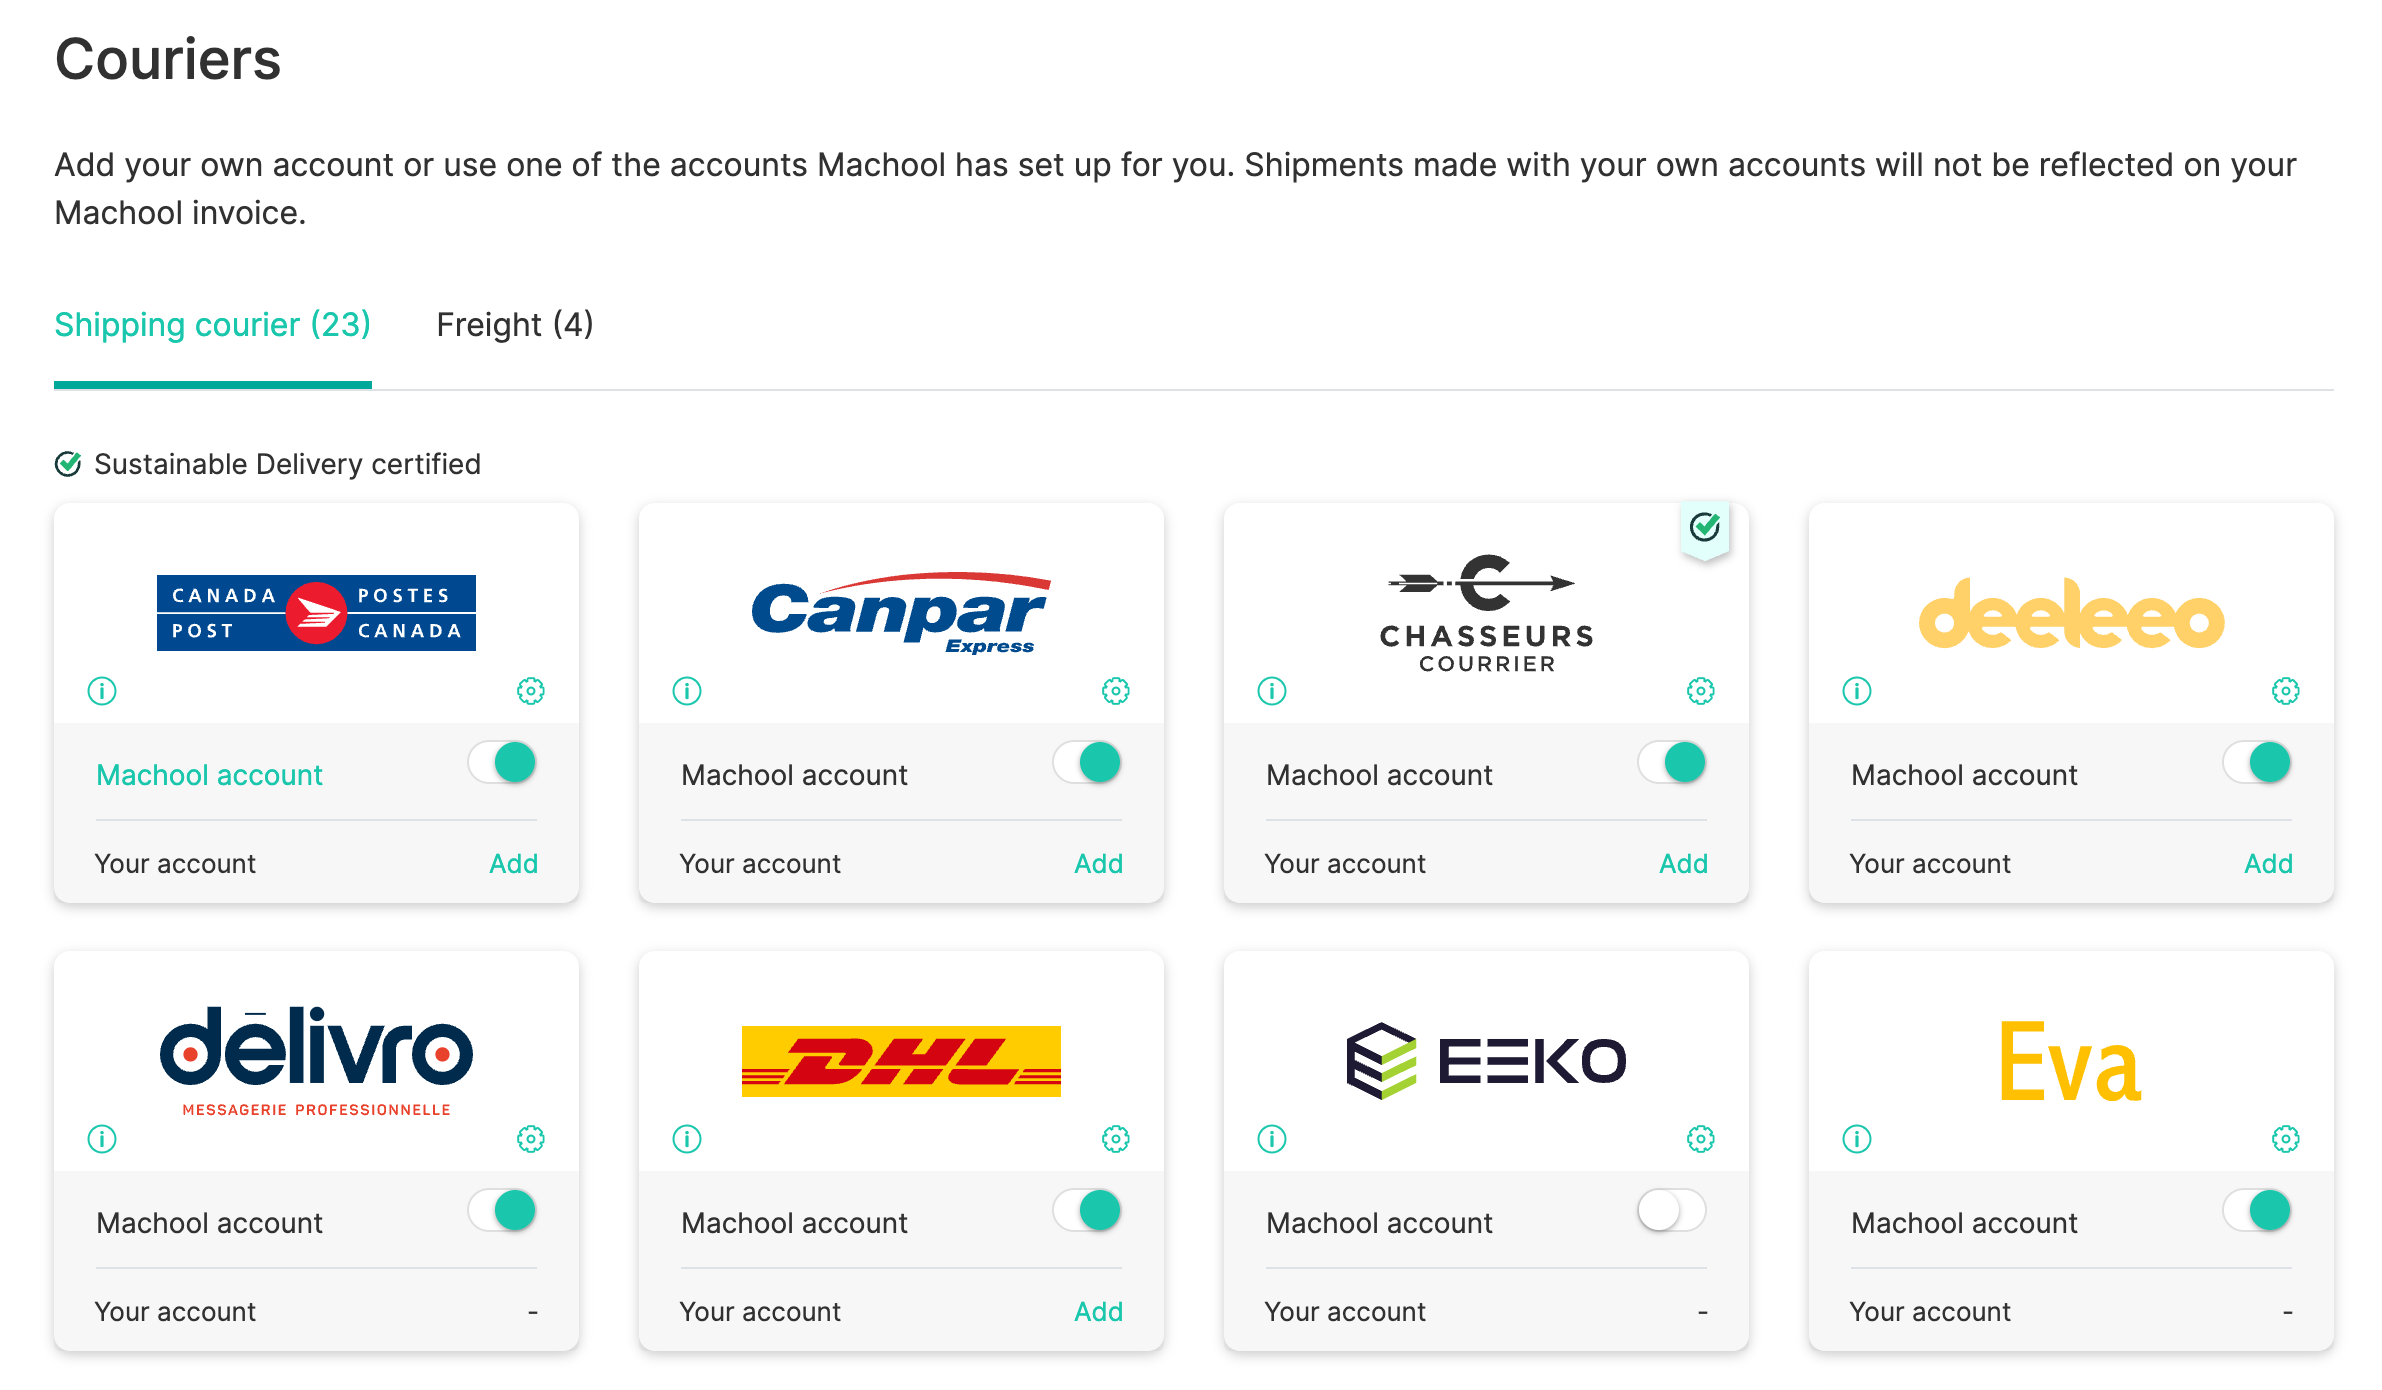
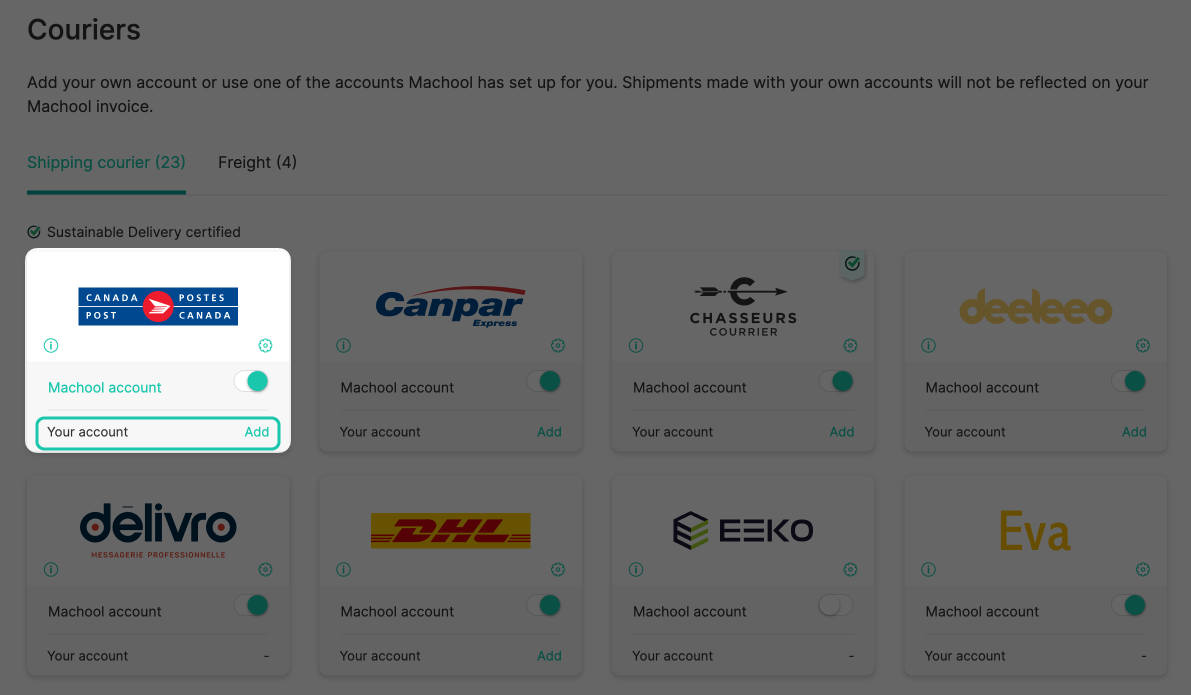
In order to use your Canada Post account to create shipments through Machool, you must first log in to your Machool account and go to Manage > Providers. Under the Canada Post logo, click on “Add your account”.
This link will redirect you to the Canada Post website, where you can log in using your Canada Post profile username and password.
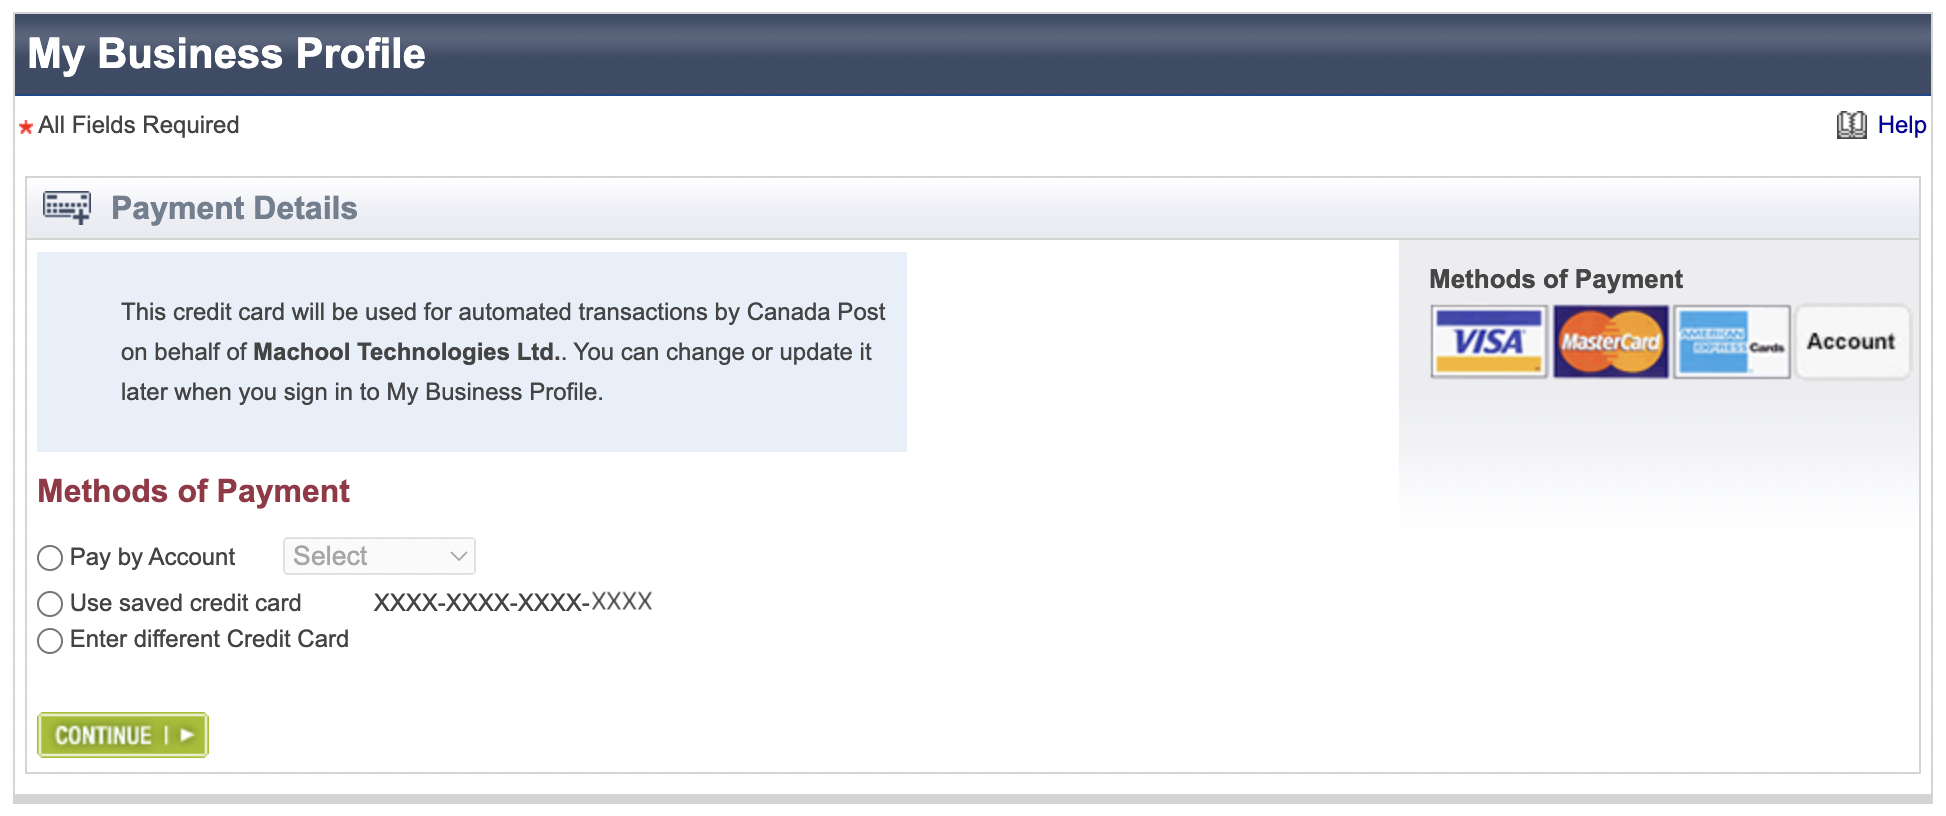
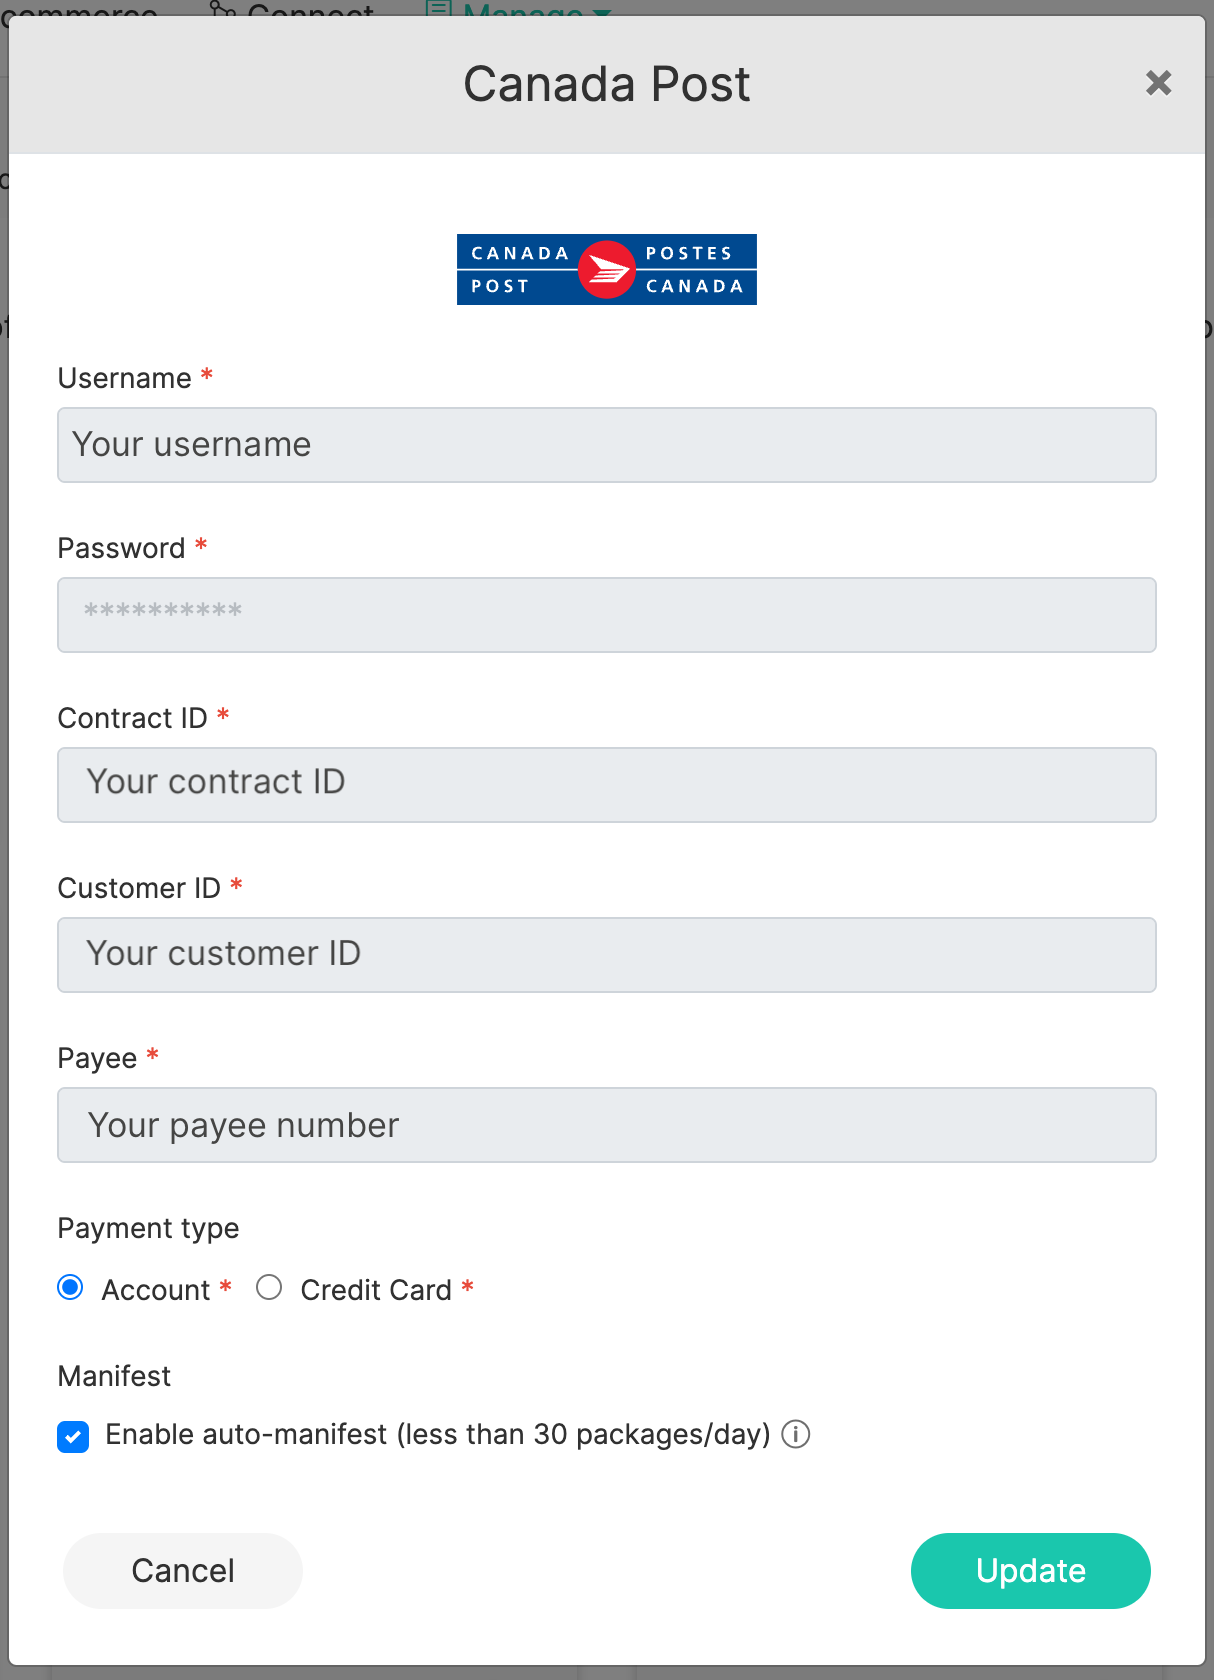
At this stage, you will be prompted to choose your preferred payment method. Please ensure you choose the payment method for which your Canada Post account has been configured, or you may be unable to create shipments and/or generate manifests through Machool.
Confirming manifests
By default, once you have added your own Canada Post account, you are required to manifest your shipments. This means that creating Canada Post labels will not automatically charge your credit card or account. You must generate a manifest at the end of each day for all of your domestic, US and international shipments. To do so, go to Manage > Shipments after creating one or more Canada Post shipments.
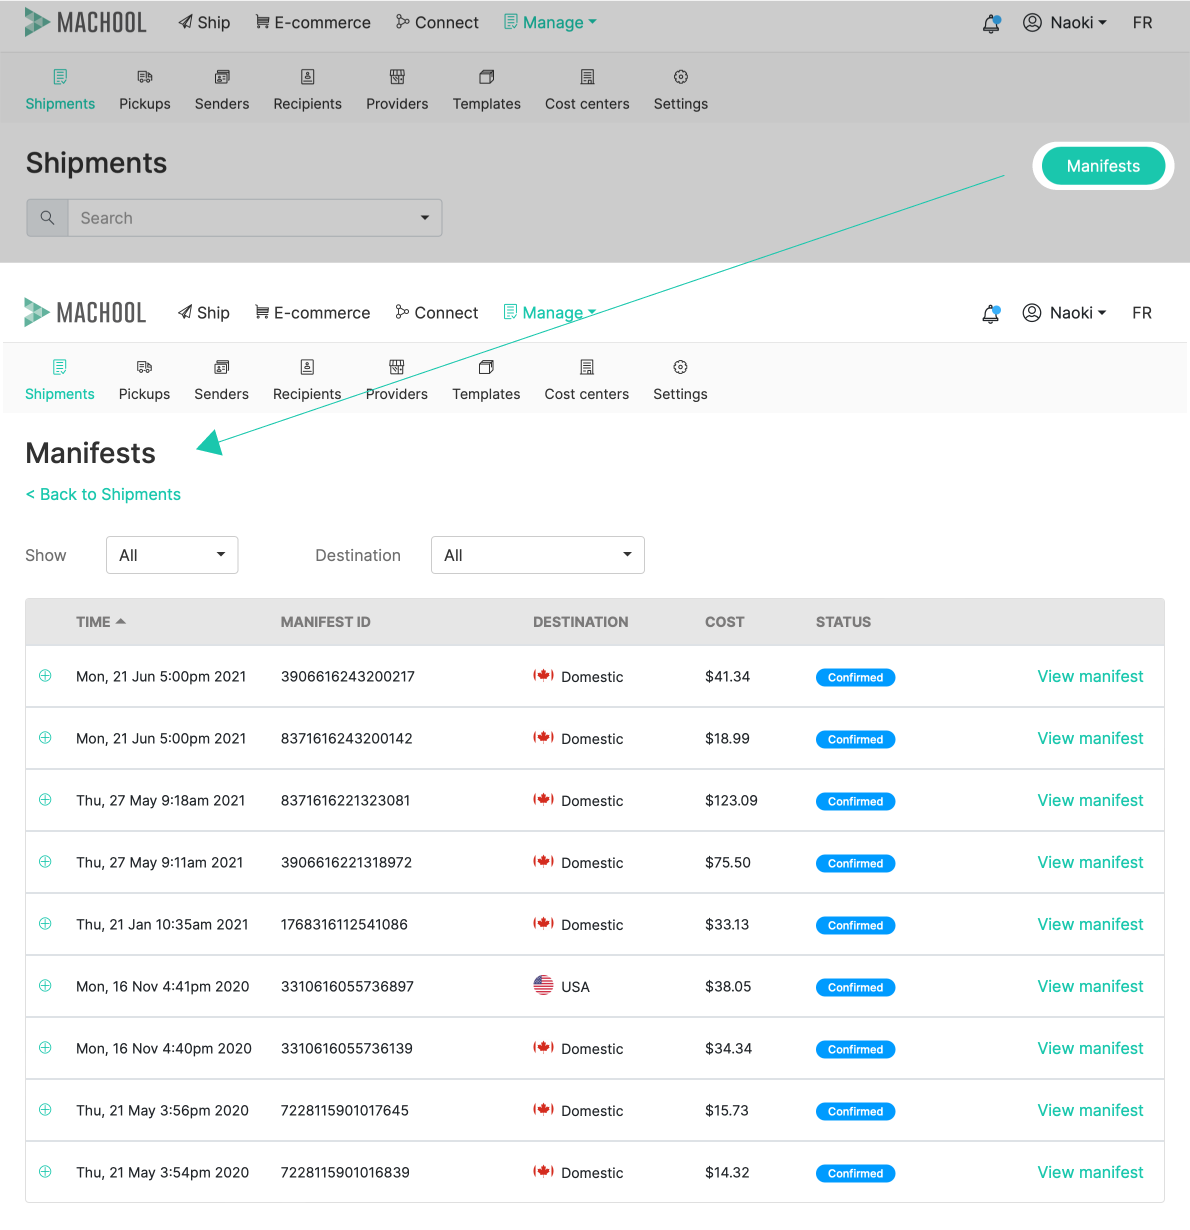
Upon generating a manifest, Canada Post will charge your preferred method of payment for all manifested shipments in a single transaction. At the same time, the status of each shipment on the manifest will change from “Unconfirmed” to “Confirmed” on the Manage > Shipments page.
You must confirm and print your manifests and hand them over to Canada Post along with the relevant shipments. Otherwise, if you fail to manifest your shipments before they are picked up or dropped off, Canada Post may bill a surcharge for each unmanifested shipment.
Deactivating manifests
You also have the option to manually disable the manifest requirement, if you ship fewer than 30 packages a day. To do so, go to Manage > Providers and click on your account number under the Canada Post logo.
When this option is selected, you will not need to generate or print a manifest; all shipments will be manifested automatically as they are created, and your preferred method of payment will be charged immediately for each shipment. However, please note that if you ship more than 30 packages in a day with this option selected, Canada Post may choose to bill a surcharge on some or all of your shipments.
DHL
Adding your DHL Account
Log into your account and go to Manage > Providers, under the DHL logo click on “Add your account”. Input your DHL export account number into the “Export Account Number” field and click on “Submit”.
I have an account, but not sure where I can find the export Account Number
If you have been using the DHL website to create shipments, you will be able to find your account number in “MyDHL”:
a) Log into “MyDHL” with your email and password
b) Navigate to “My Shipment Settings” → Click on my “DHL Accounts” to obtain your import and export account numbers. Import accounts allow you to ship from any destination outside of Canada. Export accounts allow you to ship from Canada to any destination outside of Canada. Import accounts typically start with ‘95’ or ‘96’, and export accounts start with ‘97’; however, there are some accounts that allow both.
FedEx
Adding your FedEx account
Contact us at Machool support to get the guidelines.
Log into your account and go to Manage > Providers, under the FedEx logo click on “Add your account”. From there input your Authentication Key, Password, Account Number, and Meter number and click on “Submit”.
a) How do I get access to my 9-digit account number
Login to your FedEx account, select “My profile” and navigate to “Account Management” to obtain your Account Number.
b) How do I get access to my Authentication Key, password and Meter Number?
Go to the FedEx website and click on “Move to Production” > “Get Production Key” and follow the instructions to finish the registration process. FedEx will show you the Authentication Key and Meter Number, please make a note of both. FedEx will email you the password. The final step in the FedEx Web Services Certification process is the highly detailed “label Evaluation”. Follow the steps in the label evaluation section. Once the label evaluation is completed please contact FedEx technical support directly to enable the following endpoints:
1. Ship Service
2. Pickup Service
3. Address Validation Service
4. Validation Availability and Commitment Service
5. Rate Service
6. Track Service
7. Close Service
Q. I was previously certified by FedEx to create labels but I have lost my Authentication Key and password. How do I retrieve my Key and password?
There is no way to retrieve a lost FedEx Authentication Key, password and Meter Number. If you have the previous FedEx account and Meter Number that was certified, you can generate a new Authentication Key, password and Meter Number and then call FedEx to have the API endpoints re-enabled for a new Authentication Key and Meter Number without having to re-certify.
1. Create a new FedEx Authentication Key, password and Meter Number as described above.
2. Call FedEx at 1-877-339-2774 and specify the keyword “API” to get directed to a customer service representative.
3. Request to have the following API endpoints enabled on the new authentication key for both FedEx Express and Ground, Domestic and International services:
a. Ship Service
b. Pickup Service
c. Address Validation Service
d. Validation Availability And Commitment Service
e. Rate Service
f. Track Service g. Close Service
4. Advise FedEx that you were previously certified under the old meter number
5. FedEx will process the request and the FedEx API Certification team will contact you about enabling the API endpoints.
If I generate a new key, would the old key still work?
Yes, the old key would still work.
Purolator
Adding your Purolator account
1. First you must register for the Purolator E-Ship Resource Center by visiting https://eship.purolator.com/site/en/default.aspx and clicking on “Register”. On the registration form, select 3rd option under “Web services profile”. Complete the form and click, “Submit Registration”.
2. Activate your registration by clicking on the activation link in an email sent to your email address.
3. Enter your email and password once again to access the E-Ship Resource Centre then complete the Activation Key form to get your key.
4.You will get your Activation Key once you submit your form. You will also receive an email with your Activation Key details.
5. Once you have your Activation Key, log into your Machool account, go to Manage > Providers, under the Purolator logo click on “Add your account”. From there input your Activation Key and Account Number to add your Purolator account.
a) I have Purolator’s business account but I cannot find my Account Number?
Your Account Number can be found on your invoice. Incase you do not have an invoice you can find your Account Number by:
1. Log into the Purolator’s website
2. Select “My Account” on the top navigation bar > “Manage Accounts Option”, and your Account Number should be displayed.
UPS
Adding your UPS account
Log into your account and go to Manage > Providers, under the UPS logo click on “Add your account”. From there fill out the information as prompted.
Where do I find my Account Number for an existing account?
The UPS Account Number is a six-digit reference number assigned by UPS to a shipper for billing purposes. A user can find the account number:
– On a previous UPS invoice
– Log into your UPS account, on the top right-hand corner click on your username, and from the drop-down select, “Payment Options”. Click on “Payment Options” from the list and your UPS Account number should be displayed.